How to Choose the Right Opti Shine Acrylic Sheets: Thickness, Finish, and Color Guide

Posted by

Walk into any sign shop, furniture workshop or retail fit-out and you will find acrylic sheet in use. It looks sleek, it is easy to cut and shape, and it lasts for years. But with so many thicknesses, colours and finishes available, choosing the right sheet for a job can be confusing.

Pick a sheet that is too thin and it will bow or crack. Pick one that is too thick and you will pay for material you do not need. This guide walks you through the main decisions so you can choose Opti Shine acrylic sheets with confidence, whether you are building a shop sign, a display stand or a decorative panel.

Understanding Acrylic Basics

Acrylic is a rigid, transparent thermoplastic. It is about half the weight of glass, much more impact resistant, and it can be cut, drilled, engraved, bonded and thermoformed with ordinary workshop tools. It is also weather resistant and does not yellow quickly outdoors, which is why it is used for signs, canopies and glazing.

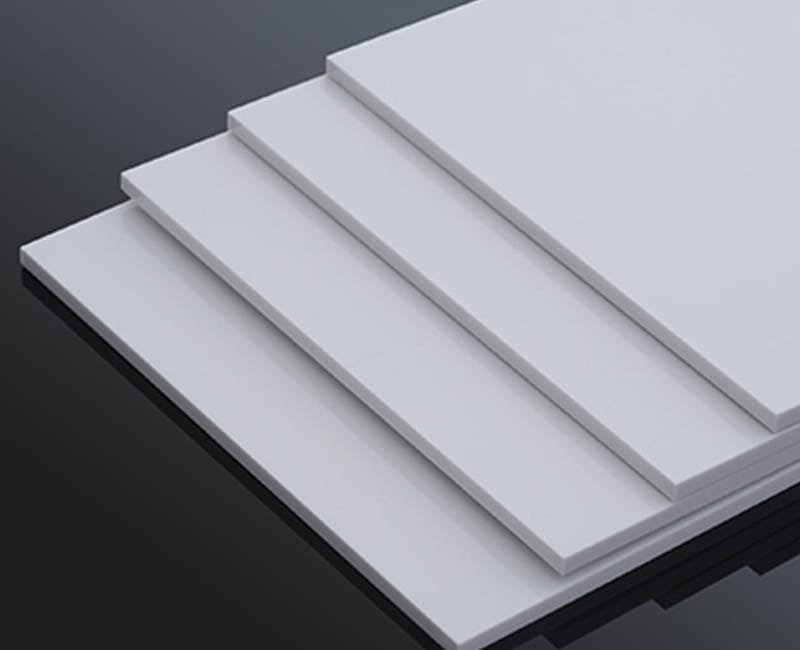
A glossy surface is one of the main attractions. A high-gloss sheet reflects light evenly and gives lettering, panels and displays a polished, professional look. That is what buyers are looking for when they choose Opti Shine acrylic sheets for visible, customer-facing applications.

Step 1: Decide What the Sheet Has to Do

Start with the job, because the application drives everything else. Ask yourself:

  • Will the sheet be indoors or outdoors?
  • Does it need to carry weight or just hold its shape?
  • Will it be lit from behind?
  • Will it be cut with a laser, a router or by hand?
  • How big is the finished piece?
  • Will people handle it, or will it be mounted out of reach?

A small countertop display has very different needs from a large shopfront sign or a tabletop. Having clear answers will make every choice below much easier.

Step 2: Choose the Right Thickness

Thickness is the most important decision. It controls strength, rigidity, weight, cost and how the sheet looks from the edge. As a general guide:

  • 1 to 2 mm: Very light and flexible. Suitable for small covers, picture frame fronts, templates and crafts. It can bend or sag if the span is large.
  • 3 mm: The most popular choice for light signage, photo frames, small displays, price holders and backlit panels. Good balance of price and stiffness.
  • 4 to 5 mm: Suited to larger signs, wall panels, shelves with short spans and dust covers.
  • 6 to 8 mm: Strong enough for shelves, counters, display cases and protective screens.
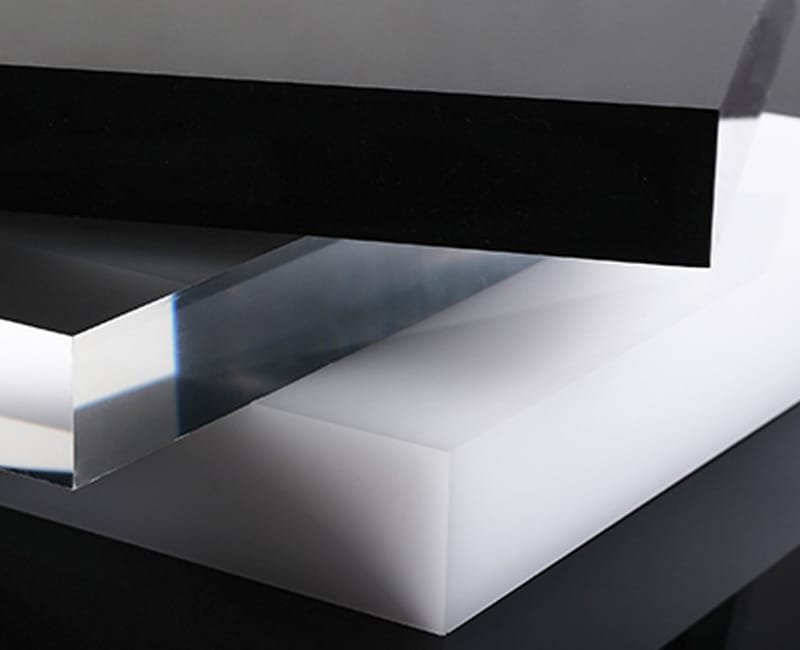
  • 10 to 12 mm: Used for heavy-duty panels, furniture, tabletops and 3D lettering with thick edges.
  • 15 mm and above: Specialist structural and decorative uses, as well as thick polished-edge pieces.

A simple rule is that doubling the thickness makes a sheet about eight times stiffer. So moving from 3 mm to 6 mm gives a huge increase in rigidity, even though the sheet is only twice as thick.

Step 3: Pick a Finish

Glossy

Glossy is the classic acrylic finish and the one most people expect. It is bright, reflective and visually rich, perfect for signs, logos, retail displays and furniture where appearance matters.

Frosted or matte

Frosted surfaces diffuse light, hide fingerprints and give a softer look. They suit partitions, privacy panels and light diffusers.

Mirror

Mirrored acrylic is lighter and safer than glass mirror, which makes it a good choice for decorative panels, children’s rooms and displays.

Opal and translucent

Opal white sheet spreads light evenly, which is why it is the standard material for lightboxes and illuminated signs. It hides LEDs and prevents hotspots. Choose the opacity that suits your lighting: the more opal the sheet, the more evenly it diffuses, but the less light passes through.

Step 4: Select the Colour

Acrylic is available in clear, black, white and a wide variety of coloured and fluorescent shades. Here are some quick tips:

  • Clear: Maximum transparency for display cases, shelves, frames and glazing.
  • Black and white: Popular for signage, lettering, backgrounds and furniture. Black shows fingerprints and dust, so plan for cleaning.
  • Coloured: Great for branding. Always request a sample and check it under your final lighting.
  • Fluorescent: Glows at the edges and is eye-catching for decorative and retail displays.

Remember that colour can look different when backlit, so test a small piece before committing to a large order.

Step 5: Think About Size and Wastage

Acrylic is usually supplied in large sheets such as 8 by 4 feet, although other sizes are available. Plan your cuts on paper first so you can nest parts efficiently and keep wastage low. Allow a few extra millimetres for the saw kerf and for finishing the edges. For larger orders, buying full sheets is usually cheaper than buying cut pieces.

Step 6: Match the Sheet to the Fabrication Method

  • Laser cutting and engraving: Works beautifully on acrylic and leaves polished edges on cut lines. Check that your machine’s power suits the thickness you are using.
  • CNC routing: Use a single-flute plastic cutter and a steady feed rate to avoid melting.
  • Hand cutting: For thin sheets, score with a plastic cutter and snap along a straight edge. For thicker sheets, use a fine-tooth saw.
  • Bending: Use a strip heater and bend slowly. Thicker sheets need longer heating time.
  • Bonding: Use a solvent cement for neat, clear joints, or an appropriate adhesive for the application.

Common Mistakes to Avoid

  1. Choosing a sheet that is too thin. Long spans and heavy loads need thicker material or additional supports.
  2. Peeling the protective film too early. Keep it on until the final stage to prevent scratches.
  3. Using the wrong cleaner. Ammonia and alcohol-based products can cause hazing and cracks. Mild soapy water and a microfibre cloth are best.
  4. Ignoring expansion. Acrylic expands and contracts with temperature. Leave small gaps and use slotted holes when mounting large panels.
  5. Overheating while bending. Too much heat creates bubbles and distorts the surface.

Caring for Your Sheets

Store acrylic sheets flat with the masking film on and keep them out of direct sun and away from solvents. When cleaning the finished product, wipe gently with a damp, soft cloth. For scratches, use a plastic polish and a soft buffing pad.

Quick Selection Checklist

  • Define the application and location
  • Choose a thickness suited to span and load
  • Select clear, coloured, opal or mirror finish
  • Check the sheet size and plan your cuts
  • Confirm your cutting, bending and bonding method
  • Order a little extra for test cuts and mistakes

Talk to the Team at Maestro Glas

Choosing the right material is easier with expert advice. Maestro Glas stocks a broad range of acrylic sheets and related materials for sign makers, fabricators, interior designers and retailers. Tell us what you are making, and we can recommend the thickness, finish and quantity that fit your budget and your project.

Contact Maestro Glas today to ask about Opti Shine acrylic sheets and request a quote.

About mahesh

Leave a Reply

Your email address will not be published. Required fields are marked *

Related Posts